
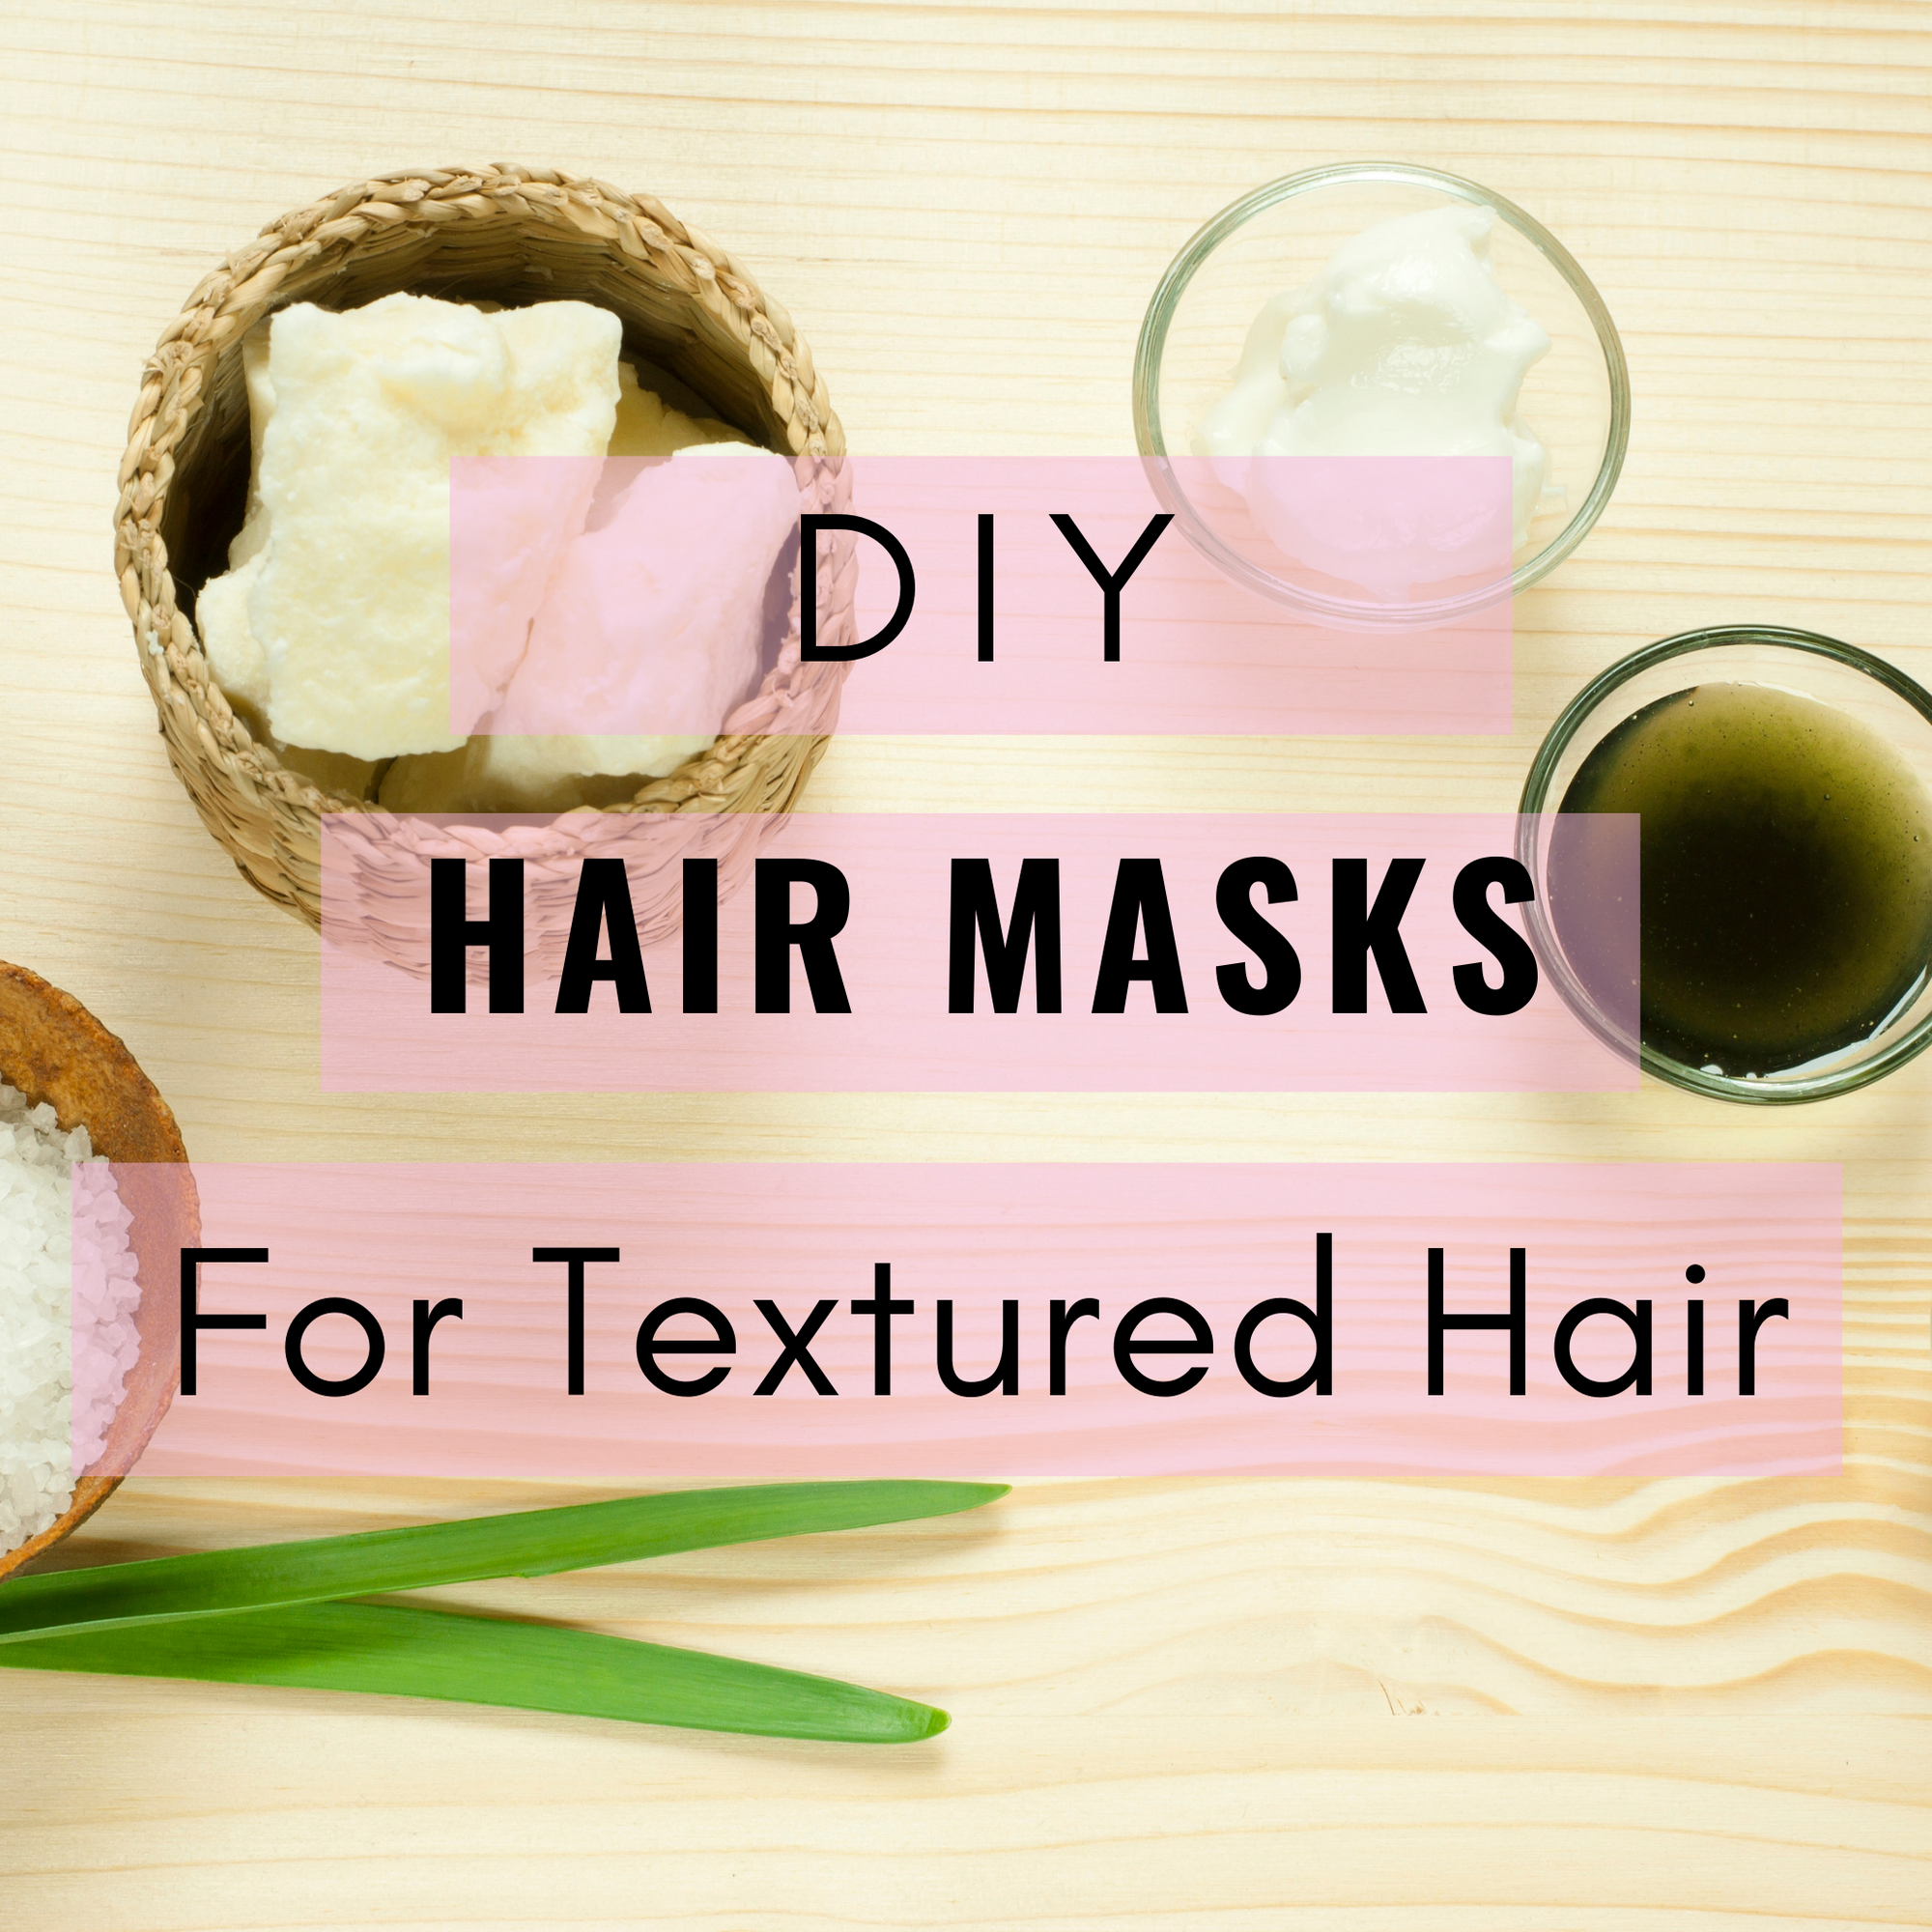
We have done the research for you so that you can try out some of our fave DIY hair masks!

- 1 cup of yogurt
- 2 tbsp honey raw and runny
- 4 tablespoons olive oil
- a couple drops of vitamin E or some gel capsules
Combine all the ingredients together, give it a good mix and then apply evenly all over your hair and scalp. Place a shower cap on and leave on for 30 minutes, and wash off.
Watch how soft and moisturised your hair feels afterwards, try it for yourself, and let us know your results in the comments! We would recommend using this yogurt based hair mask for those of you with wavy and curly hair types.

- 2 tablespoons coconut oil
- 2 tablespoons shea butter (raw)
- 5-10 large drops of honey runny
- You can add oils to this too for extra softness (tea tree, avocado, jojoba, grapeseed etc. to name a few)
This beautiful leave-in conditioner is perfect for those with tighter curls. We found it easier to melt the coconut oil, shea butter and the lovely honey in the microwave for 15-20 seconds or in a pot on top of the stove for 2-55 minutes. Then pour it all into a bowl and stir it well so that it blends. Pour the mixture into a glass container with a lid and put it in the freezer for about 5-10 minutes. Once it hardens, take it out and store it in your bathroom for easy access! Use this as a leave-in conditioner, as you require.
This will leave your hair moisturised and leaves your hair smelling amazing!! We would recommend this for the more coarse and coily hair in particular as we love a good leave-in conditioner.

- 1 cup of vegetable oil (anything organic will do)
- tightly closed jar (made of glass)
- 3-5 tablespoons of herbs of your choice (rosemery, bay leaves, lavender, burdock, amongst others)
For this hair oil you will need to put 3-5 tablespoons of herbs in a glass jar, then cover it up with 1 cup of any organic oil of your choice. Pour this mixture into a tightly closed jar for two weeks. You need to shake the jar daily to infuse it all, once that's done you can just strain the herbs out and use it as a hair oil.
This leaves your hair feeling super soft, depending on what you would like to focus on you would need to adjust the herb that you use. For example if you want to tackle an itchy scalp then we would recommend using burdock, if you want to reduce hair loss you could use lavender or rosemary etc. Research to see what you can use for your specific problem!
I know this DIY hair oil takes some time so for those of you in a rush, we recommend heating up the mixture on low heat for about 15-20 minutes, let it cool down and then place it in the fridge. This can be kept in the fridge for up to 6 months.
We would highly recommend this to everyone, as it depends on what you would like to tackle, so choose wisely!

- 1 - 2 - Tablespoon of olive oil or coconut oil
- 5 - 10 - Drops of peppermint oil
This tingly refreshing pre-poo holds many benefits, it leaves your hair feeling soft and healthy. All you need is a spoonful of olive oil or coconut oil, then mix in 5 drops of peppermint oil. Wet your hands with the mixture and massage it into your scalp. Make sure to rub the mixture all the way down to the end of your strands. This is good for those who need a good pree poo.
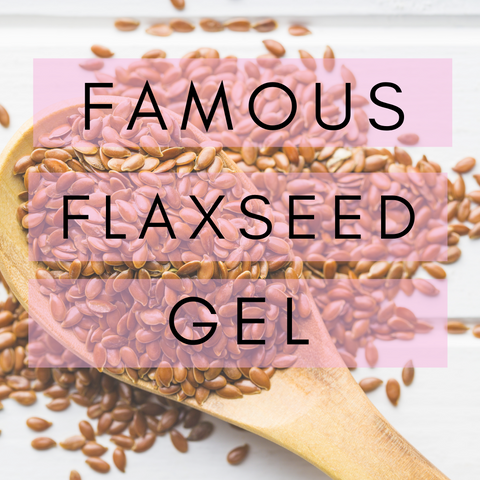
- 1 cup of water
- 1/4 cup of flax seeds/Linseeds
- Large saucepan - big enough for the seeds to roam around in the water
- Wire or nylon mesh strainer- as thin as they come
- Large bowl - deep enough so that the strainer doesn't touch the surface of the bowl
- Small wire whisk -the classic teardrop shaped
- 4-5 oz bottle - to store your finished gel
I am sure you have seen so many influencers doing this DIY hair gel mask. We have tried and let me tell you it is a must have.
First pour 1 cup of water (preferably room temperature or tap water), into a saucepan. Then add the Flaxseeds/linseeds and turn the heat on high. Then, stir often to keep the seeds moving, you do not want them sticking at the bottom of the pan. This is also said to help create the gelatine like texture to form.
As your water comes to a boil you must stir it gently and constantly. Once you get a thin, foamy jelly turn the heat down a little, and keep on stirring. Look out for the point when you let the seeds settle for a second and they suspend in the clear jelly instead of sinking to the bottom of the pan.
At this point, turn the heat off and give it one good stir, pour the liquid and seeds immediately into the strainer over your bowl. Do this quickly as you do not want to allow the gel to dry as it could get messy. Then lift the strainer and check for any stray seeds in the gel. If you do have any seeds in the gel then you can stir it one more time using a finer mesh.
Then, use a whisk and give the gel a good, quick beating (for about 10 seconds), do this to break up any really gelatinous strands there might be, or to mix in whatever I might have added in, and pour it into the bottle.
This one seems a little longer though we can reassure you it took us 6-8 minutes. Depending on the type of thickness you like either the consistency of egg whites, or if you want it thicker then I would suggest pouring it back into the pan and heating it up a little more. It should almost look and feel like the consistency of egg whites. Remember to save the seeds and put it in a ziplock bag in the fridge, so that you can use it again next week or the week after.
Slightly longer instructions however, it does not take that long to do, takes about 8-10 minutes, once you get the hang of it, you probably will go through it quicker.
What does our No Knot Co Ambassador have to say about DIY hair masks?
Omg. So don't get me started!! I Love DIY Hair masks I use them every single wash day and I use a tone of ingredients. I use Ayurvedic herbs, I use aloe vera, hibiscus, all sorts of great natural ingredients. I don't use Argan oil but I use loads of other oils, like olive oil, Castor oil, Jojoba oil. I have a massive collection of oils and I make my own ones as well with the herbs. @rusheenshair
Final thoughts:
So there you have it, some of our fave DIY hair masks for you to try out from the comfort of your own home! And you got some good ingredients that our No Knot Co Ambassador loves to use too!
Let us know how you get on in the comments below and if you have any tips don't forget to share it with us!!!
Comments
Good day viewers, I wish to share my testimony with all of you. I have daily 9 to 5 jobs but while I work, I try my luck at playing instant Lotto. On this particular day, I decided to seek help online regarding tips for winning the lottery and I saw many individuals testifying about Meduza spells. I reached out to him and informed him that I needed help to win the lottery and he clarified the process to me stating that after he casts the spell, it will take 48 hours for him to provide me the winning numbers which I accepted. I followed all his instruction and he provided me with the numbers to enter the Lottery. After the draw the following morning, I received a notification on the Lottery app on my phone indicating that I was the lucky winner of $273 million on the New Jersey Lottery and I’m here to extend my heartfelt gratitude to Meduza. If you seek for help in any aspect of your life, Whats_App +1 (807) 798-3042 or Email: lordmeduzatemple@hotmail.com or visit: lordmeduzatemple.com
Anyone diagnosed with HPV needs to be careful not to fall into any of these online traditional-medical doctors who will just take your money and render you empty help. I fell victim several times just Because I was HPV positive. Not until I found Dr. OGEDEGBE who cured me with his natural medicine and his medicine acted fast without any side effects. You can connect him with any of these information. Email dr.ogedegbe6@gmail.com or whatsapp +2349121737553. He also has remedy for HERPES, COPD, HBP, CANCER, FIBROID, AND MANY MORE.